
A free WordPress SSL certificate installs a dedicated digital security credential on your web server. SSL certificates encrypt data between your site and visitors. It activates HTTPS. To move your website beyond legacy HTTP channels and secure your user data, you can deploy a free SSL using one of two highly reliable methods. In this guide, we will explain these two methods step by step.
Table of Contents
What is SSL?
SSL stands for Secure Sockets Layer. It is a security protocol that encrypts the connection between your visitor’s browser and your web server. Any data that travels between your site and your visitors stays private and cannot be intercepted.
What Does SSL Actually Do on a WordPress Site?
SSL installs a digital certificate on your server. Once active, your WordPress site URL changes from http:// to https://. The padlock icon appears in the browser. Google treats HTTPS as a ranking signal. Without it, Chrome flags your site as “Not Secure,” which kills visitor trust.
Your WordPress wp-config.php file and .htaccess Both files play a role in making SSL work correctly after installation. We will cover both.
How Do You Enable Free WordPress SSL From Your Hosting Provider?
This is the fastest path for most beginners. You already have a hosting account, and your host has likely already done the hard work. You just need to activate it. Major hosting providers like Bluehost and Namecheap include free SSL on every plan. They use Let’s Encrypt to issue the certificate. Let’s Encrypt is a free certificate authority trusted by every major browser.
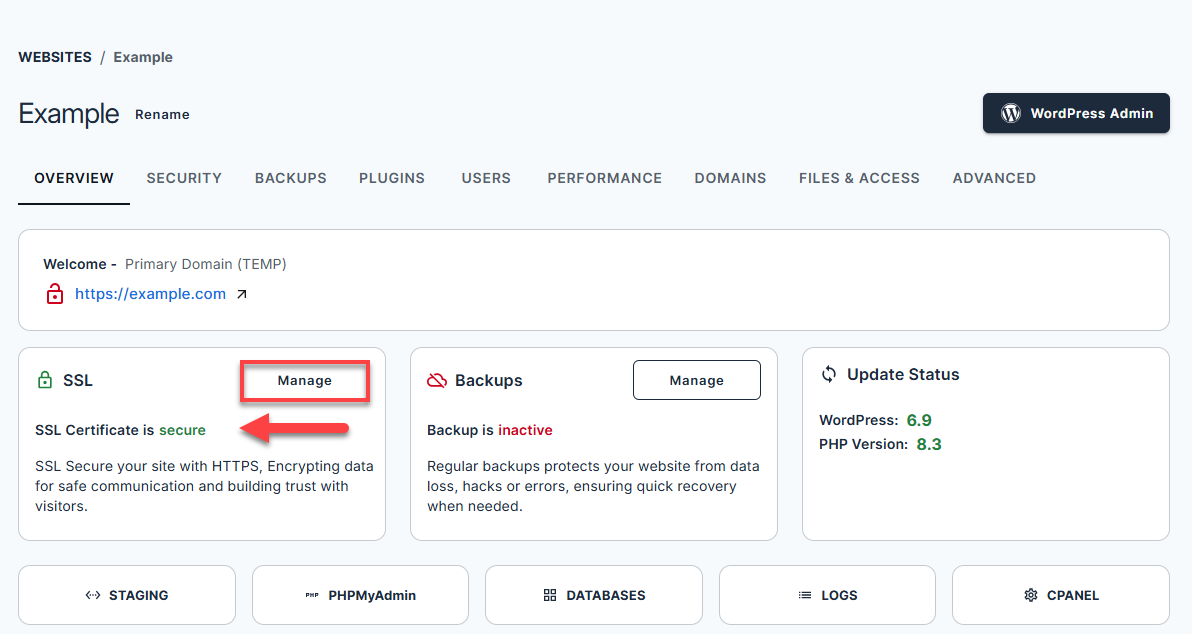
The certificate is valid for 90 days and renews automatically. Your hosting provider handles this in the background; you will never need to manually renew it. The encryption strength is also identical to paid SSL certificates, so you are not getting a lesser product by going free.
Step-by-Step Installation via Hosting Control Panel:
- Log in to Your Hosting Account: Access your hosting provider’s control panel. This is often called cPanel dashboard. You should have received login details for this when you first signed up for your hosting service.
- Locate SSL/Security Settings: Once inside your control panel, look for a section related to “Security,” “SSL/TLS,” “Let’s Encrypt,” or “HTTPS.” The exact naming might vary slightly depending on your host.
- Install the Certificate: Follow the on-screen prompts. This usually involves selecting your domain name from a list and clicking an “Install,” “Issue,” or “Activate” button. Your hosting provider handles the technical details in the background.
- Confirm Activation: Your host will typically send you a confirmation once the SSL certificate is active.
Your hosting provider handles all the complex technical configurations in the background. The activation process usually takes only a few minutes, though it can occasionally take up to a couple of hours, depending on server queue times
If you can’t find these options, don’t hesitate to contact your hosting provider’s support team. They are there to help and can guide you through their specific process or even install it for you.
How Do You Get Free SSL for WordPress Using Cloudflare?
Cloudflare acts as a reverse proxy between your visitors and your server. When you connect your site to Cloudflare, their Universal SSL certificate activates automatically, even if your hosting plan has no SSL option.
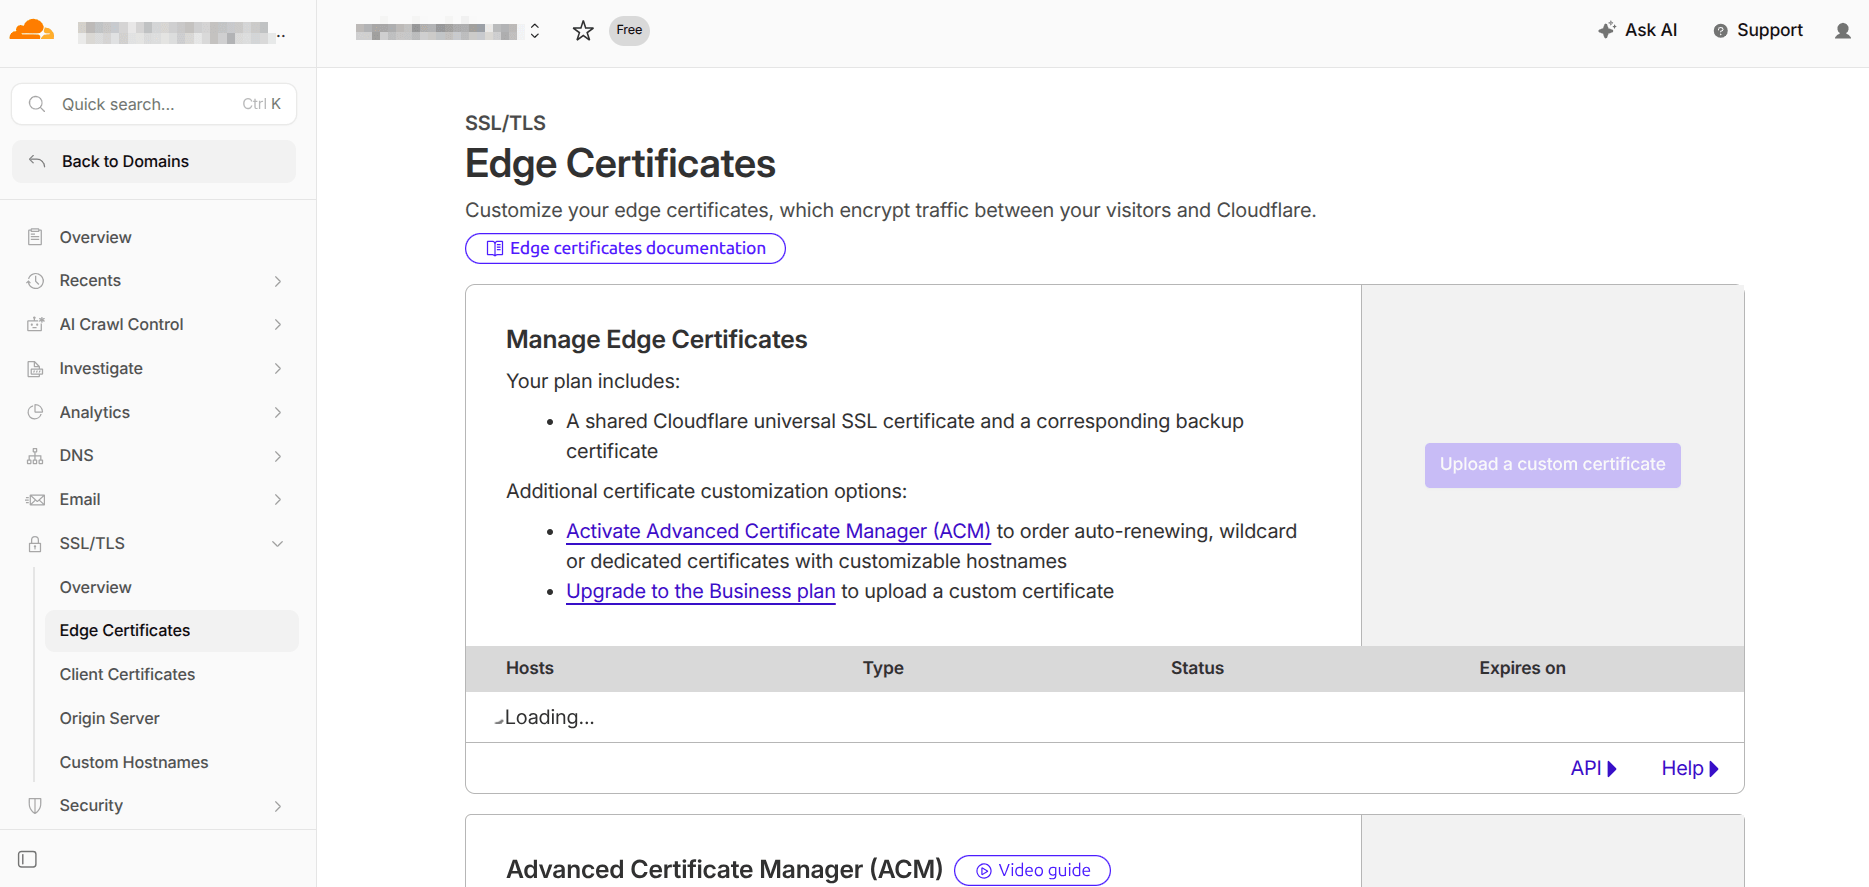
Cloudflare’s free SSL uses a shared SAN (Subject Alternative Name) certificate covering multiple domains simultaneously. It is valid but different from a dedicated certificate.
Step-by-Step: Setting Up Cloudflare Free SSL for WordPress
- Go to cloudflare.com and create a free account
- Click Add a Site and type your domain name (e.g.,
yourdomain.com) - Select the Free Plan and click Continue
- Cloudflare scans your existing DNS records; wait for it to finish
- Review the DNS records Cloudflare found: “Make sure your A record points to your server IP.”
- Cloudflare will give you two new nameservers (e.g.,
aria.ns.cloudflare.com) - Log in to your domain registrar
- Go to DNS Settings or Nameservers for your domain
- Replace your current nameservers with the two Cloudflare nameservers
- Save the changes. DNS propagation takes 24–48 hours
- Once propagated, go to your Cloudflare Dashboard → SSL/TLS
- Set the SSL mode to Full (not Flexible, as Flexible causes redirect loops on WordPress)
- Go to SSL/TLS → Edge Certificates and enable Always Use HTTPS
- Log in to WordPress Admin → Settings → General
- Update both URL fields from
http://tohttps:// - Click Save Changes
Why You Must Set SSL Mode to “Full” and Not “Flexible” in Cloudflare
Flexible mode encrypts traffic between your visitor and Cloudflare, but not between Cloudflare and your server. This causes WordPress to enter an infinite redirect loop because WordPress sees an HTTP connection and keeps trying to redirect to HTTPS. Always use Full mode.
What Should You Check After Installing SSL in WordPress?
Installing the free WordPress SSL certificate is a fantastic first step, but it’s equally important to ensure your entire website fully embraces HTTPS. This involves redirecting all old HTTP traffic to the new HTTPS connection and verifying that everything is working perfectly.
HTTPS Redirection: No More “Not Secure” Warnings
You need to ensure that anyone trying to visit your site using the old “http://” address is automatically sent to the secure “https://” version. This is called HTTPS redirection
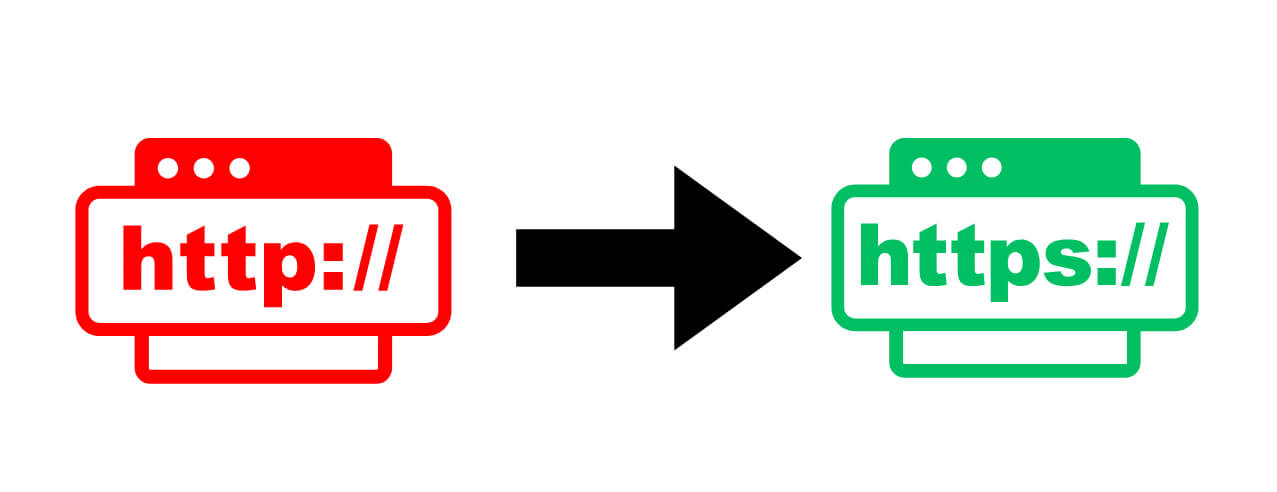
Methods for HTTPS Redirection:
- Cloudflare’s “Always Use HTTPS”: If you’re using Cloudflare, simply ensure the “Always Use HTTPS” setting is enabled in your Cloudflare dashboard.
- Hosting Control Panel Options: Many cPanels have a direct option to “Force HTTPS Redirect” or “Redirect to HTTPS” within their SSL/TLS tools. Look for this setting and enable it.
- WordPress Plugin: Many WordPress plugins automatically handle this redirection for you upon activation.
- Manual Configuration (Advanced): For those comfortable with file editing, you can add rules to your website’s
.htaccessfile. However, for beginners, using your hosting panel or a plugin is strongly recommended to avoid potential site issues.
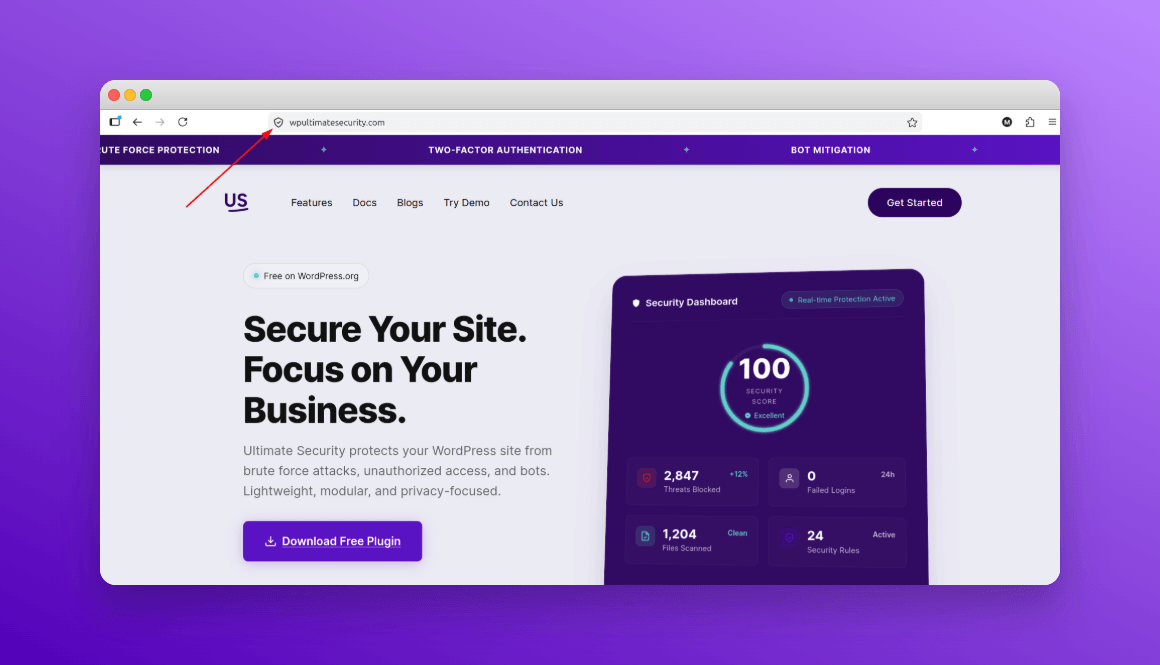
Verifying Your SSL: The Padlock Proof
After installing your SSL and setting up redirects, it’s vital to confirm that your site is truly secure and loading correctly via HTTPS.
How to Verify Your SSL:
- Browser Check: Open your web browser and manually type your website’s address with “https://” at the beginning (e.g.,
https://yourwebsite.com). Look for the padlock icon in the address bar. If you see it, and no “Not Secure” warning, your SSL is likely working. - Online SSL Checkers: For a more detailed analysis, use a free online SSL checker tool (e.g., SSL Labs’ SSL Test). Simply enter your domain name, and the tool will scan your certificate and provide a comprehensive report on its configuration and any potential issues.
- WordPress Site Health: In your WordPress dashboard, navigate to “Tools” > “Site Health.” This tool can often detect SSL-related issues and offer recommendations if something isn’t configured correctly.
Does SSL Mean Your WordPress Site Is Fully Secure?
SSL is a strong first step, but it covers one specific thing. It encrypts data as it moves between your visitor’s browser and your server. That is its only job. SSL handles the first row. The rest still need attention. If you want to see exactly where your site stands after setting up SSL, a dedicated WordPress security plugin can help. A good one will check your SSL status too, flag vulnerable plugins, stop bad bots, enable login hardening, and show you which security layers are active and which ones need work, all from inside your WordPress dashboard.
What Actually Blocks Malicious Traffic on Your WordPress Site?
SSL encrypts traffic. It does not filter it. Every request, from legitimate visitors, bots, hackers probing your login page, and automated scripts testing your forms, all of it still reaches your server. SSL just makes sure the connection is encrypted. It cannot examine the contents of that traffic and decide whether to allow or block it. That is what a Web Application Firewall (WAF) does.
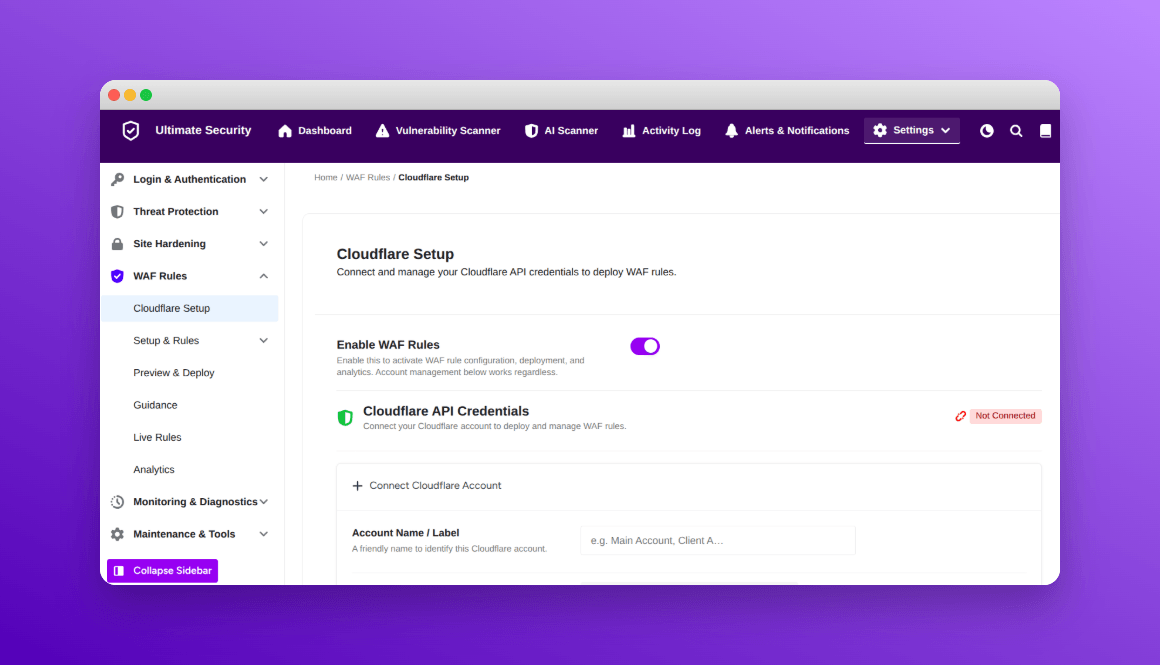
A WAF sits in front of your WordPress site and inspects incoming requests before they reach your server. It checks each request against a set of rules. If a request matches a known attack pattern, such as SQL injection, cross-site scripting, or malicious file uploads, the WAF blocks it before any damage can happen.
Think of SSL as a sealed envelope. It keeps the contents private during delivery. A WAF is the security guard who checks who is allowed through the door before the envelope even arrives.
For WordPress specifically, WAF rules target the most common attack vectors:
- Malicious requests targeting
wp-login.phpandxmlrpc.php - SQL injection attempts through contact forms and URL parameters
- Cross-site scripting (XSS) attacks embedded in user inputs
- Fake bots and vulnerability scanners are probing your site
Setting up WAF rules on WordPress does not require server-level access or technical expertise. Ultimate Security includes a built-in WAF rules setup that lets you configure protection directly from your WordPress dashboard. If you want to understand exactly how the rules work and what each one covers, you can read the full WAF Rules Setup documentation for a detailed breakdown.
SSL and a WAF work together, not as alternatives. SSL secures the connection. WAF filters what comes through it. Both are needed for a complete security setup.
Frequently Asked Questions
Is free SSL safe?
Yes, absolutely. Free SSL certificates, particularly those provided by Let’s Encrypt (which powers most free SSLs from hosting providers and many plugins), offer the same strong encryption as paid certificates. They are perfectly safe and secure for the vast majority of websites, including those handling sensitive user data. While paid certificates might come with additional features like warranties or extended validation (which can be important for very large businesses), free SSL is more than adequate for most WordPress sites.
Does free SSL expire?
Yes, free SSL certificates, like those from Let’s Encrypt, typically have a shorter validity period, usually around 90 days. However, this is rarely an issue because most hosting providers and services like Cloudflare automatically handle the renewal process for you. This means you won’t need to manually renew the certificate, and your site will remain secure without interruption. If you install an SSL certificate completely manually, you would need to be mindful of its expiration and renew it yourself.
What happens if I don’t install SSL on my WordPress site?
Google Chrome and other browsers will show a “Not Secure” warning to every visitor who lands on your site. Google also uses HTTPS as a ranking signal, so sites without SSL are at a disadvantage in search results. Contact forms, login pages, and any page where visitors enter information will transmit that data without encryption.
Can I use both my hosting SSL and Cloudflare at the same time?
Yes, and this is actually the recommended setup. Install SSL on your hosting first, then connect Cloudflare and set the SSL mode to Full. This way, traffic is encrypted both between Cloudflare and your visitor, and between Cloudflare and your server. Using flexible mode with no hosting SSL causes redirect loops on WordPress.
My site still shows “Not Secure” after installing SSL. What do I do?
Check three things in order. First, confirm your WordPress URL settings under Settings → General show https:// not http://. Second, check your .htaccess file for the 301 redirect rule that forces HTTP to HTTPS. Third, look for mixed content: a single image or script loading over HTTP can trigger the warning even when SSL is installed correctly. Use your browser’s developer tools (F12 → Console) to identify which resource is causing it.
Final Thoughts
Getting a free WordPress SSL certificate is not complicated. You do not need to hire a developer or pay for a premium certificate. Two free options cover almost every situation a beginner will face. If your hosting provider offers SSL, enable it today. It takes five minutes and requires no technical knowledge. If your host does not include it, Cloudflare’s free plan gives you SSL plus speed and security benefits on top.
One thing worth remembering is that SSL is the foundation, not the finish line. It is the first and most visible step toward a secure WordPress site. But a secure site is built in layers, and each layer matters.