
You want to build a WordPress site but don’t want to pay for hosting yet. Or maybe you need a safe place to test things without breaking a live website. That’s where installing WordPress on localhost comes in. The good news is you don’t need to be a developer and don’t have to do any complicated configuration. The easiest method for desktop PC is using free tools like LocalWP and WordPress Studio. They handle everything behind the screen. You just click a few buttons, and WordPress is running on your computer.
Table of Contents
What Can Desktop WordPress Do?
Before picking a tool, it helps to understand what “localhost” actually means here. When you install WordPress on your computer, your PC acts as both the server and the browser. The site only exists on your machine. Nobody else can see it.
- Cost-Free Experimentation: Build and test as many sites as you want without paying for hosting.
- Offline Development: Work on your website anytime, anywhere, even without an internet connection.
- Safe Testing Ground: Experiment with themes, plugins, and code changes without risking your live website.
- Instant Changes: See your modifications immediately, speeding up your development workflow.
- Privacy: Your local sites are only accessible from your computer, ensuring complete privacy during development.
System requirements to keep in mind:
Both tools need a decent amount of RAM, and your computer does not need to be high-end, but having at least 8GB RAM makes things more comfortable, especially if you are running other apps at the same time.
- LocalWP requires Windows 10 or later (64-bit), macOS 10.15 or later, or a modern Linux distribution. It needs at least 1GB of free disk space per site, though 2-4GB per site is more realistic with a full WordPress install.
- WordPress Studio works on Windows 10 and later and macOS 12 (Monterey) and later. Similar disk space requirements apply.
Method 1: Install WordPress on Localhost Using LocalWP
LocalWP (previously called Local by Flywheel) is the most popular tool for local WordPress development. It handles all the technical stuff, such as setting up a web server, PHP, and a database, completely behind the scenes.
Download LocalWP
Go to LocalWP and click Download for Free. A small form will appear asking for your name, email, and phone number. Fill it in and click Get It Now to start the download.
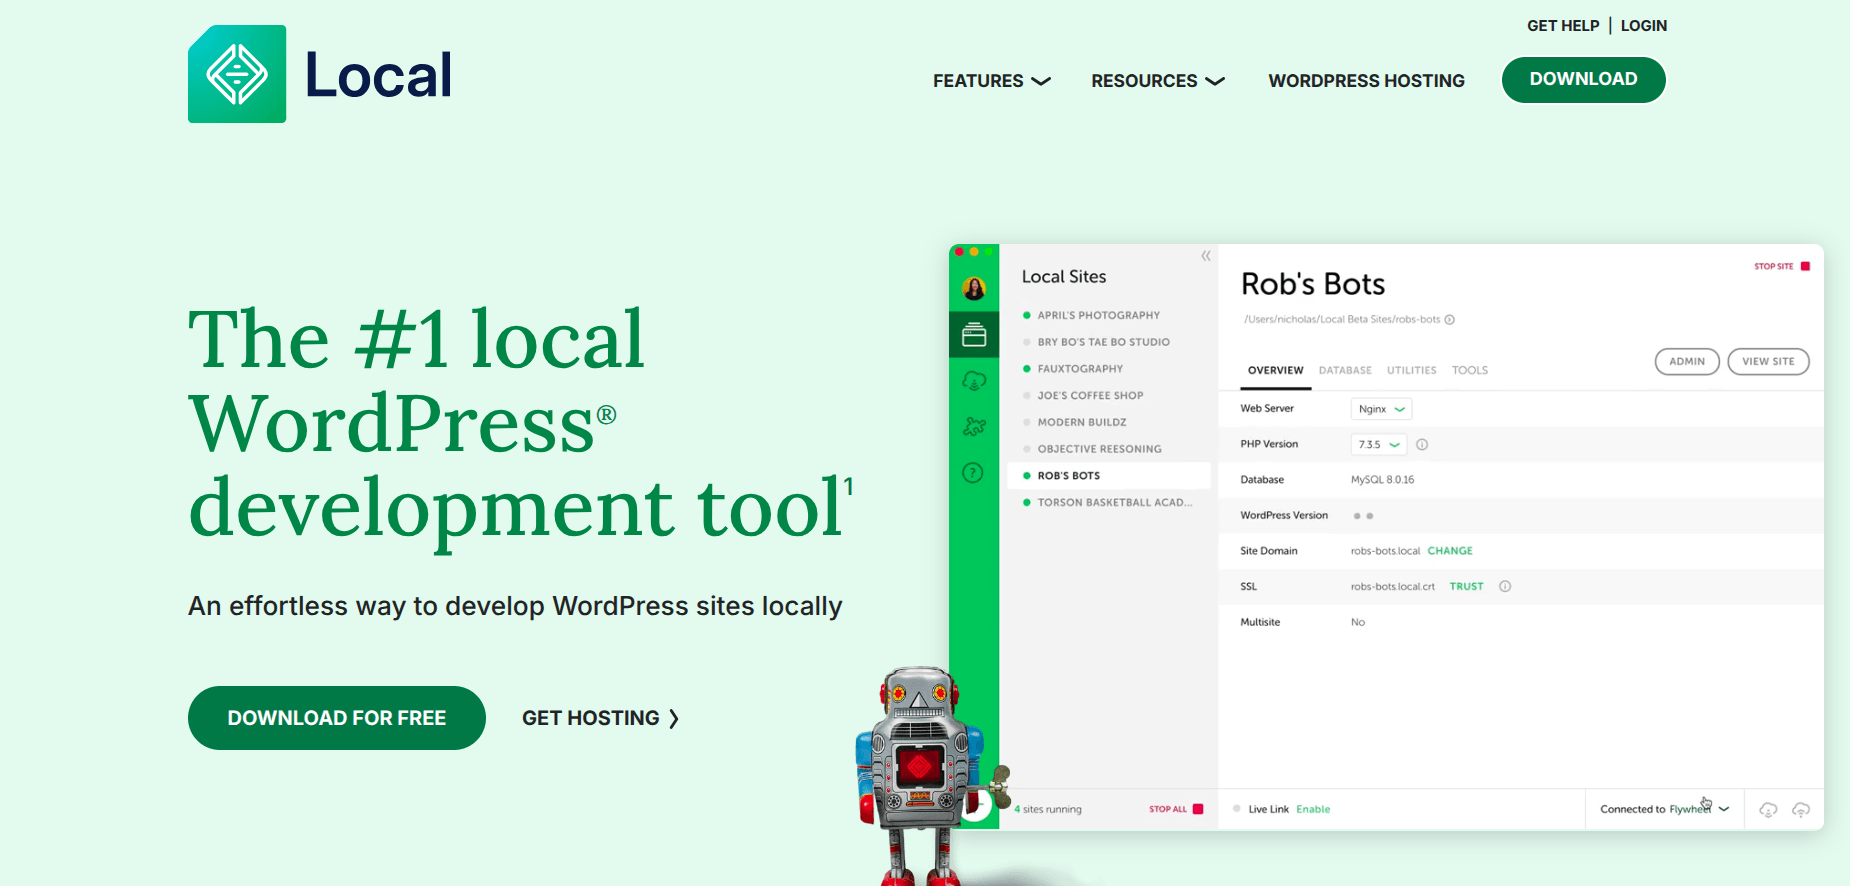
The installer file is about 300–400MB, so give it a minute depending on your internet connection.
Install and Launch the App
Once the download finishes, locate the installer in your Downloads folder and double-click it. Follow the on-screen instructions. The setup is straightforward and similar to installing any regular Windows application.
After installation, open LocalWP. The first time it launches, it may ask to allow network access. Click Allow Access so the app can set up properly.
Create Your First Local Site
On the LocalWP dashboard, click the Create a New Site button (or the small “+” icon in the lower left corner).
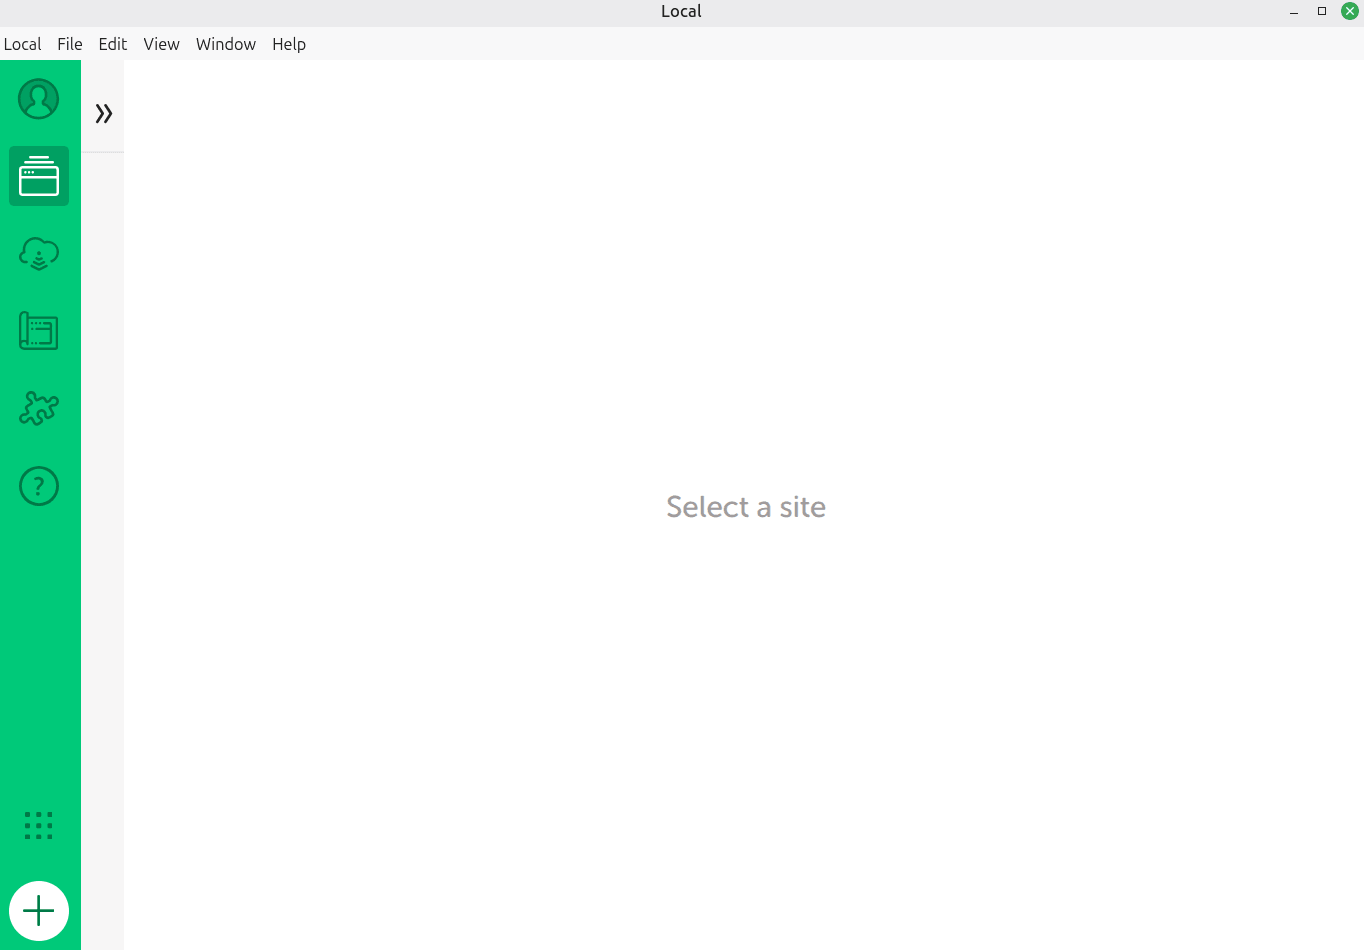
Create your site. Select the ‘Create a new site’ option and click the ‘Continue’ button. There are also two options to create the site from a blueprint or a backup.
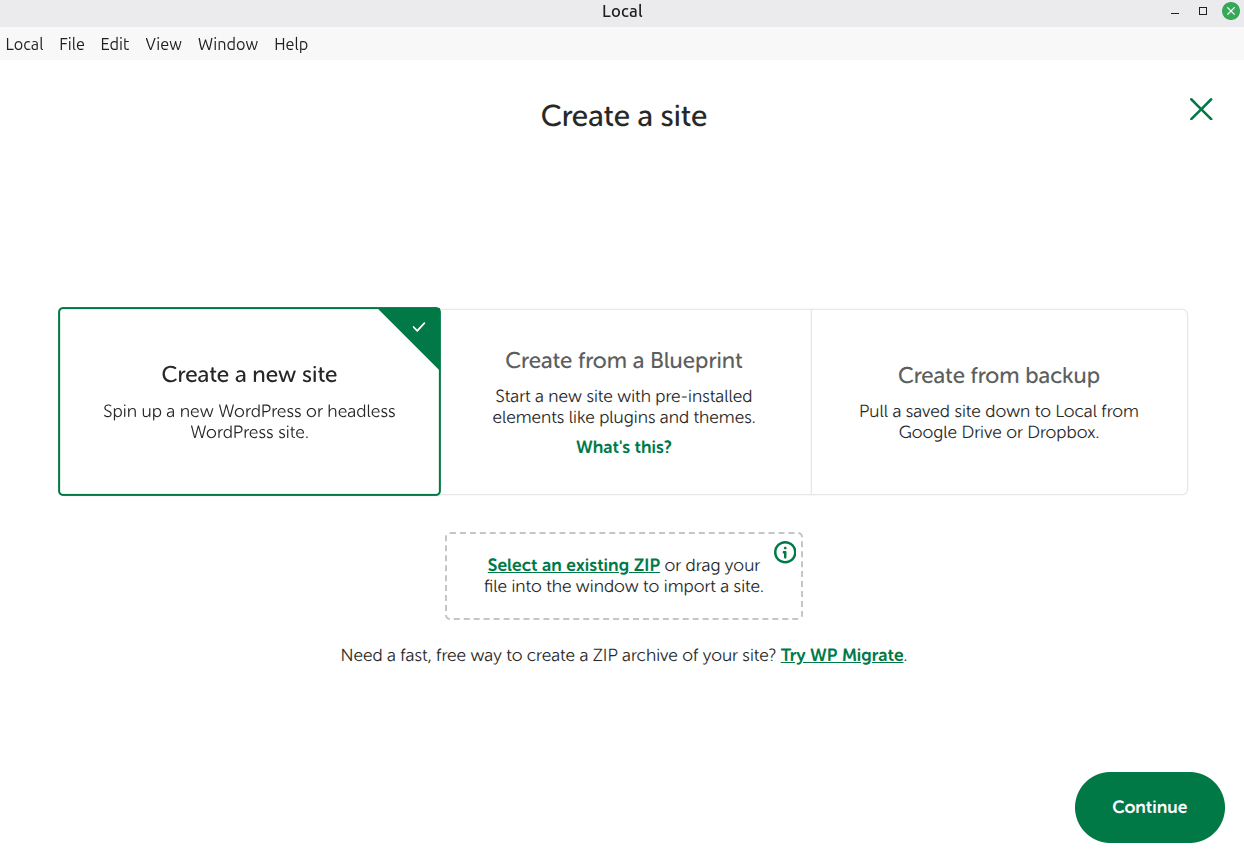
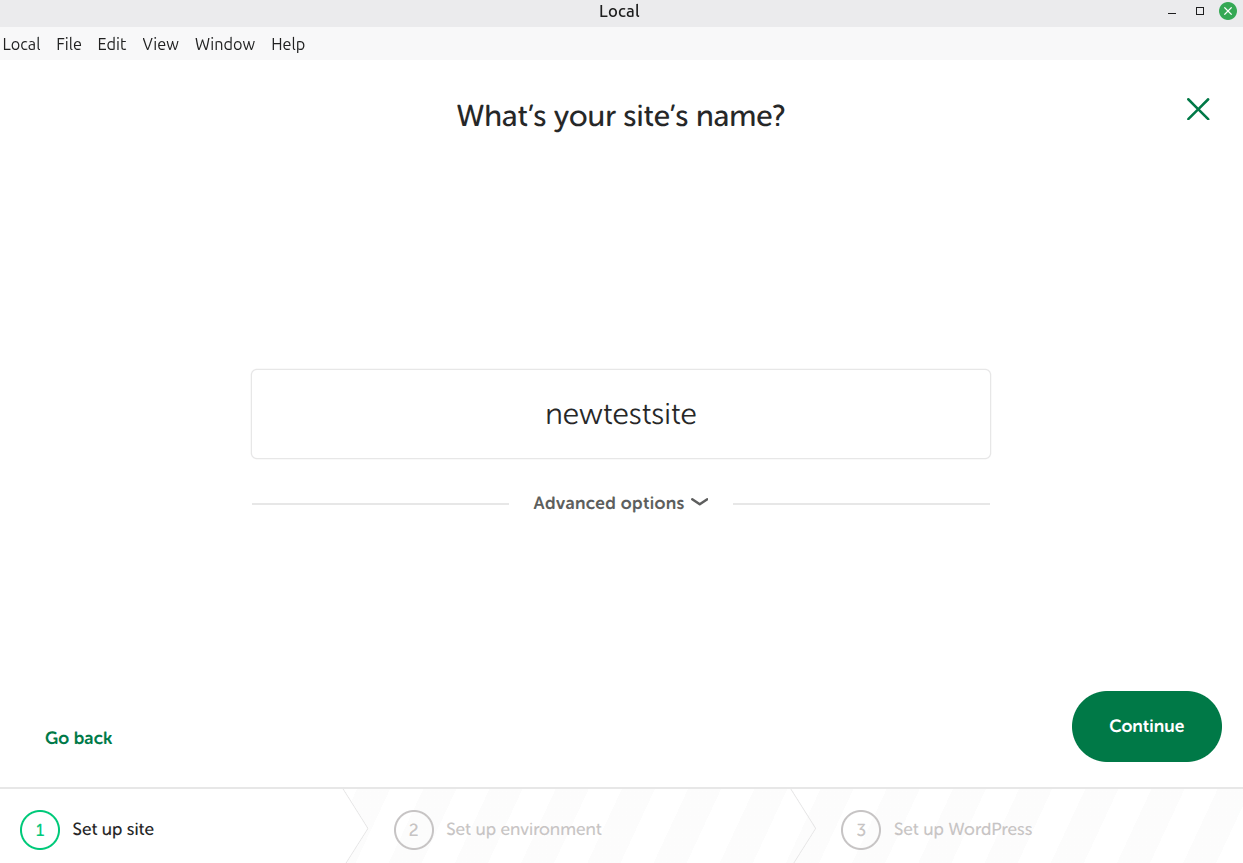
Enter a name for your site. LocalWP automatically creates a local URL based on that name, and click Continue.
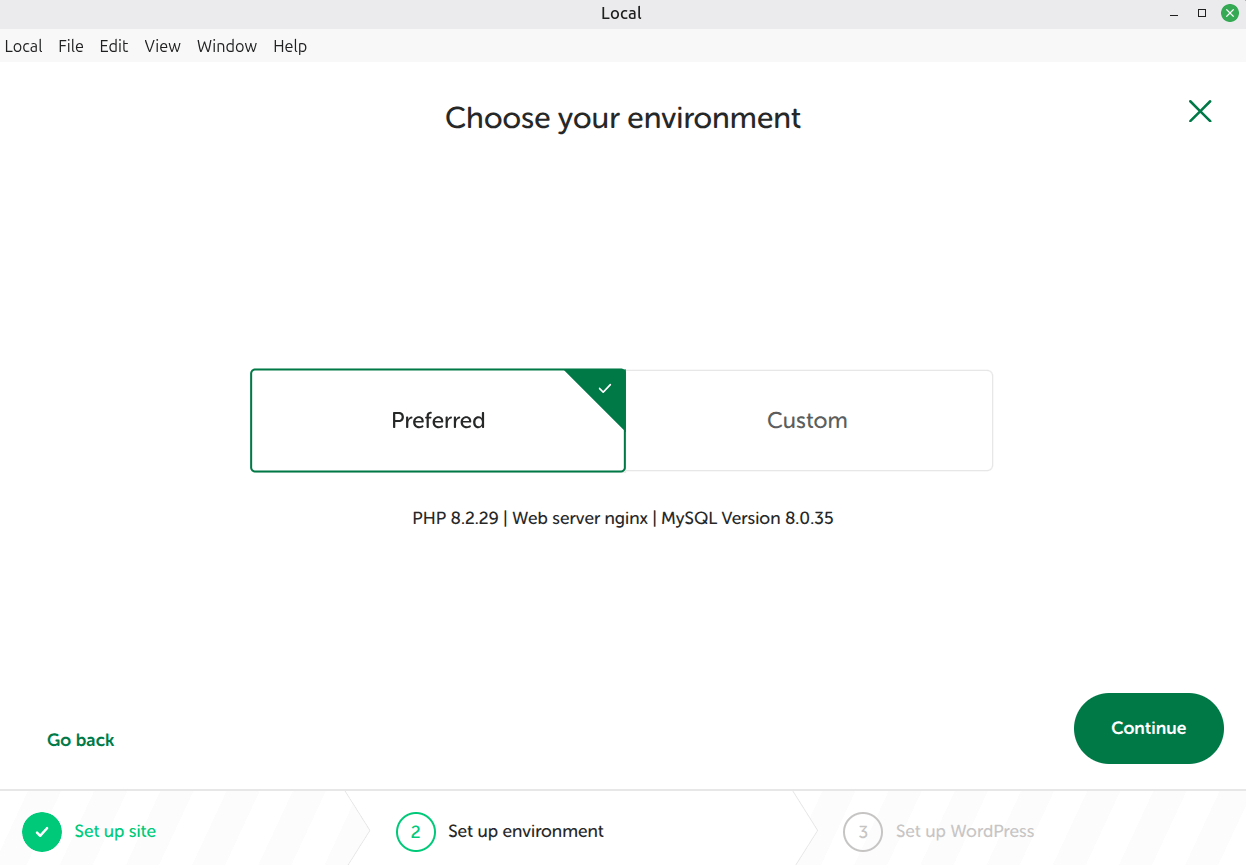
Choose Your Environment You will see two options: Preferred and Custom. For beginners, always choose Preferred. It automatically selects a stable, up-to-date PHP and MySQL version. The Custom option is for developers who need to match specific server configurations, such as mirroring a live hosting environment.
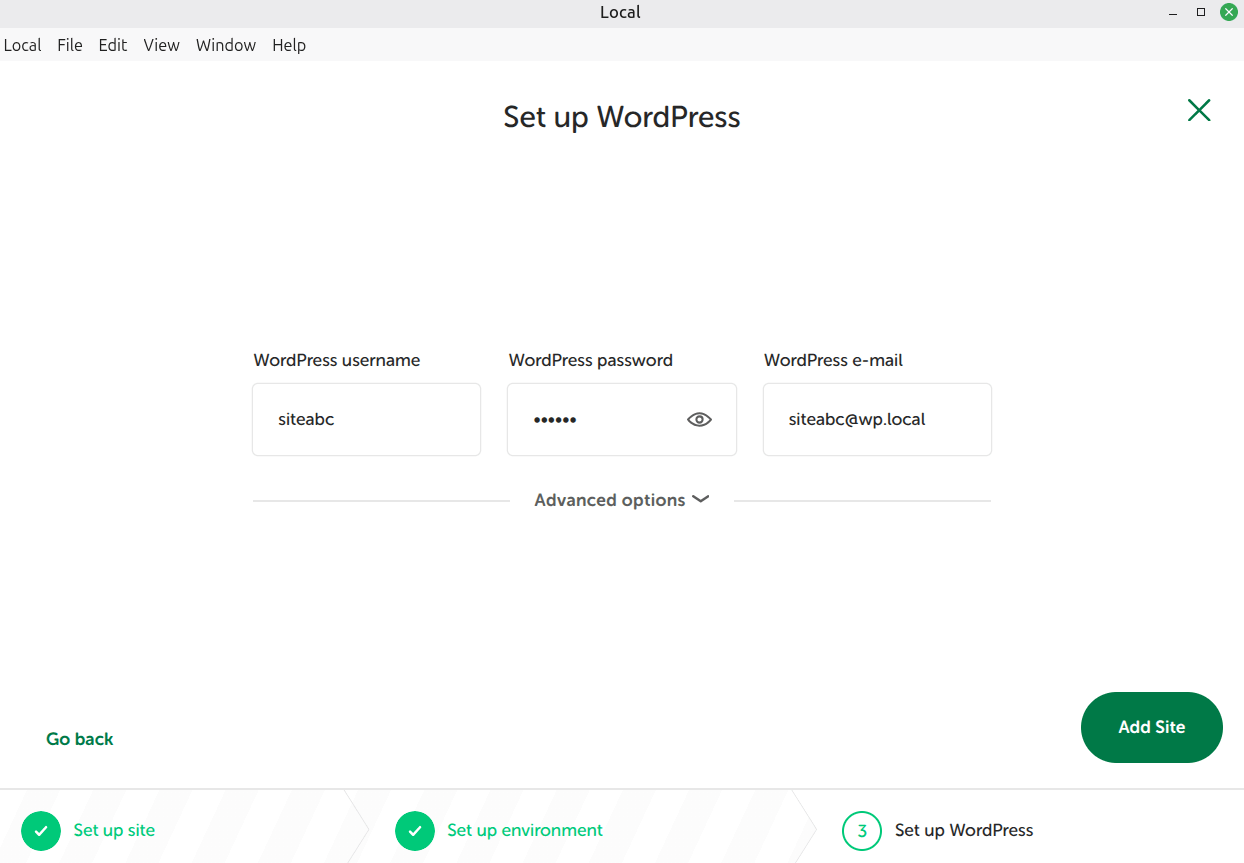
Set Up WordPress Credentials Enter the WordPress username, password, and email address you want to use for your local site. These are your login details for the WordPress dashboard later. Write them down somewhere if you are likely to forget. Now click Add Site.
LocalWP will take some time to configure all the required tools, server, and database automatically. This may take some time to initially interface.
Launch Your Local Site
Once the setup is complete, your site will appear in the LocalWP dashboard with a green “Running” status. You will see two main buttons:
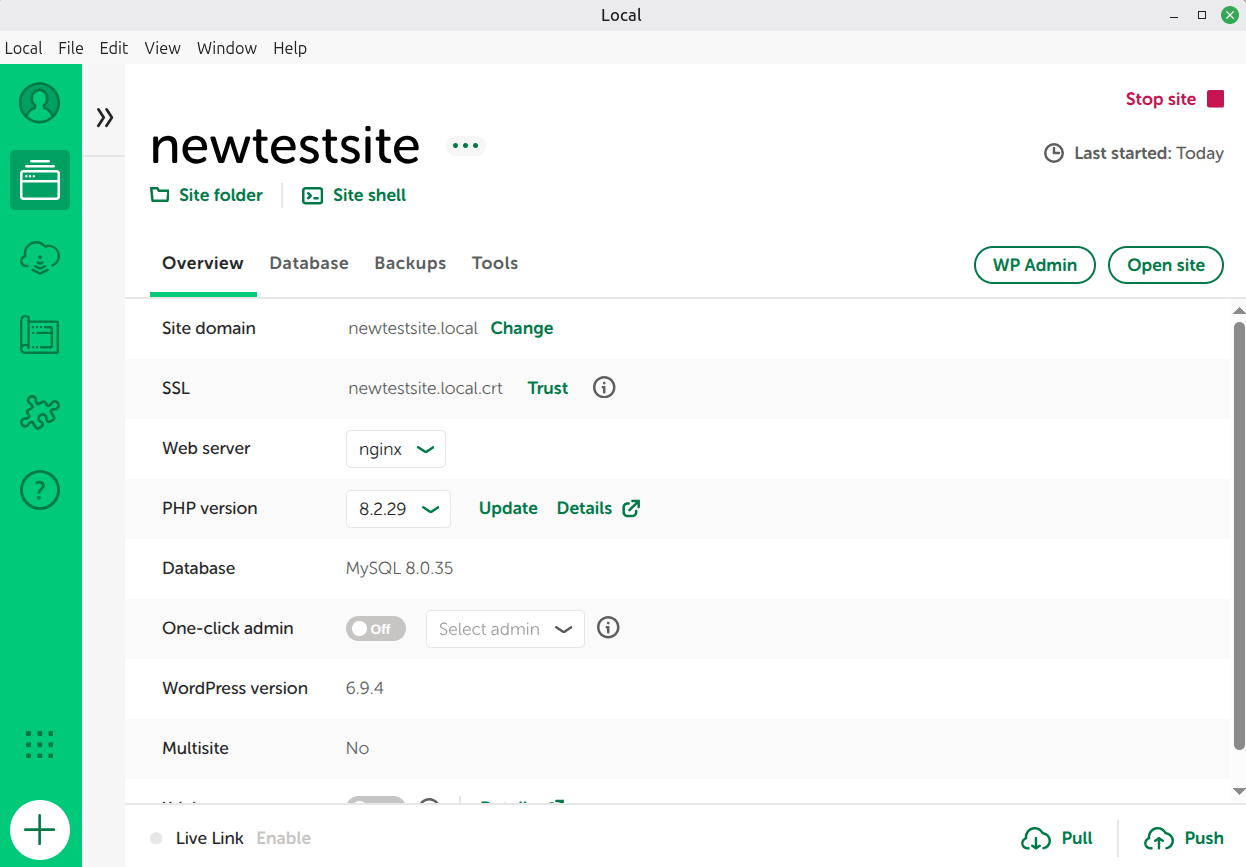
- Open Site – Opens the front end of your local WordPress website in your browser.
- WP Admin – Takes you directly to the WordPress dashboard login page.
Click WP Admin, enter the username and password you set in Step 3c, and you are inside your WordPress site. That is it. Your local WordPress site is live on your computer.
A Few LocalWP Features Worth Knowing
Once your site is set up, LocalWP gives you a few useful tabs inside the site dashboard:
- Overview: Shows your site’s domain, PHP version, WordPress version, and web server type.
- Database: Lets you connect to and manage your WordPress database directly, useful for debugging or editing data.
- Site Shell: Opens a command-line terminal scoped to your site. This is helpful if you use WP-CLI.
- Mailpit: It lets you use emails on your site. For example, if you want to test how email two-factor authentication on WordPress works.
There is also a Live Links feature that lets you share your local site with a client or teammate via a temporary public URL. It is handy for quick reviews, though you should disable it when the session ends.
Method 2: Install WordPress Locally Using WordPress Studio
WordPress Studio is made by Automattic, the same company behind WordPress. You will see two options: Windows on Intel/AMD and Windows on ARM. Most standard desktop PCs use Intel/AMD. If you are a complete beginner or just want to spin up a site as fast as possible, Studio is a strong choice.
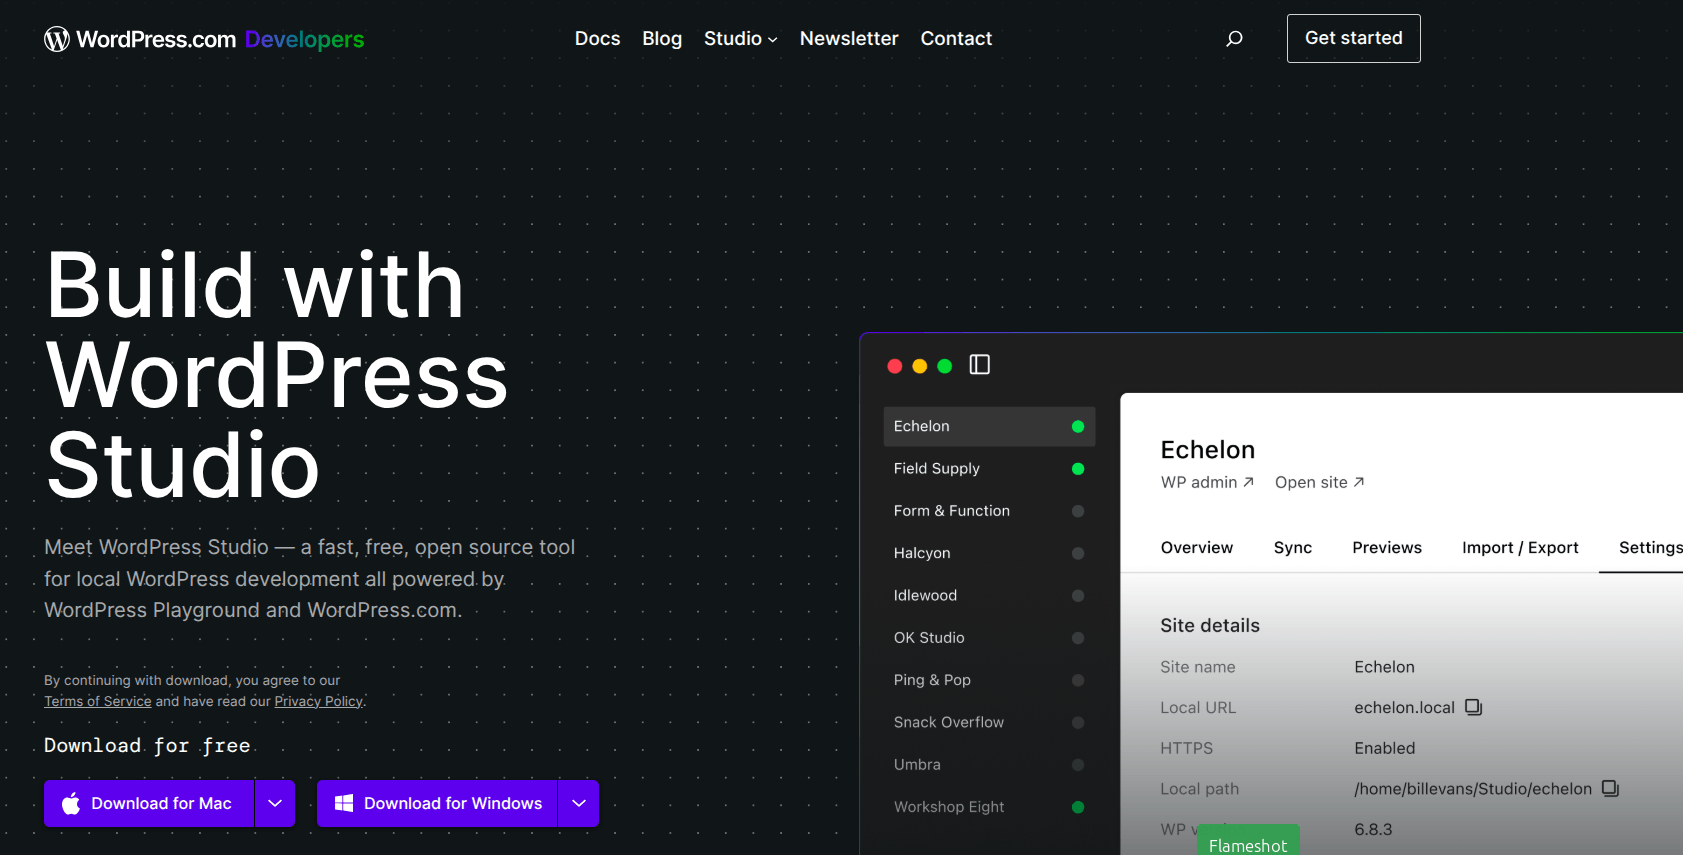
Download WordPress Studio
Visit the official WordPress Studio page at developer.wordpress.com/studio. Click “Download” to get it and install it on your desktop.
Install and Open the App
Run the downloaded installer and follow the prompts. Once installed, open WordPress Studio from your Start menu or desktop shortcut.
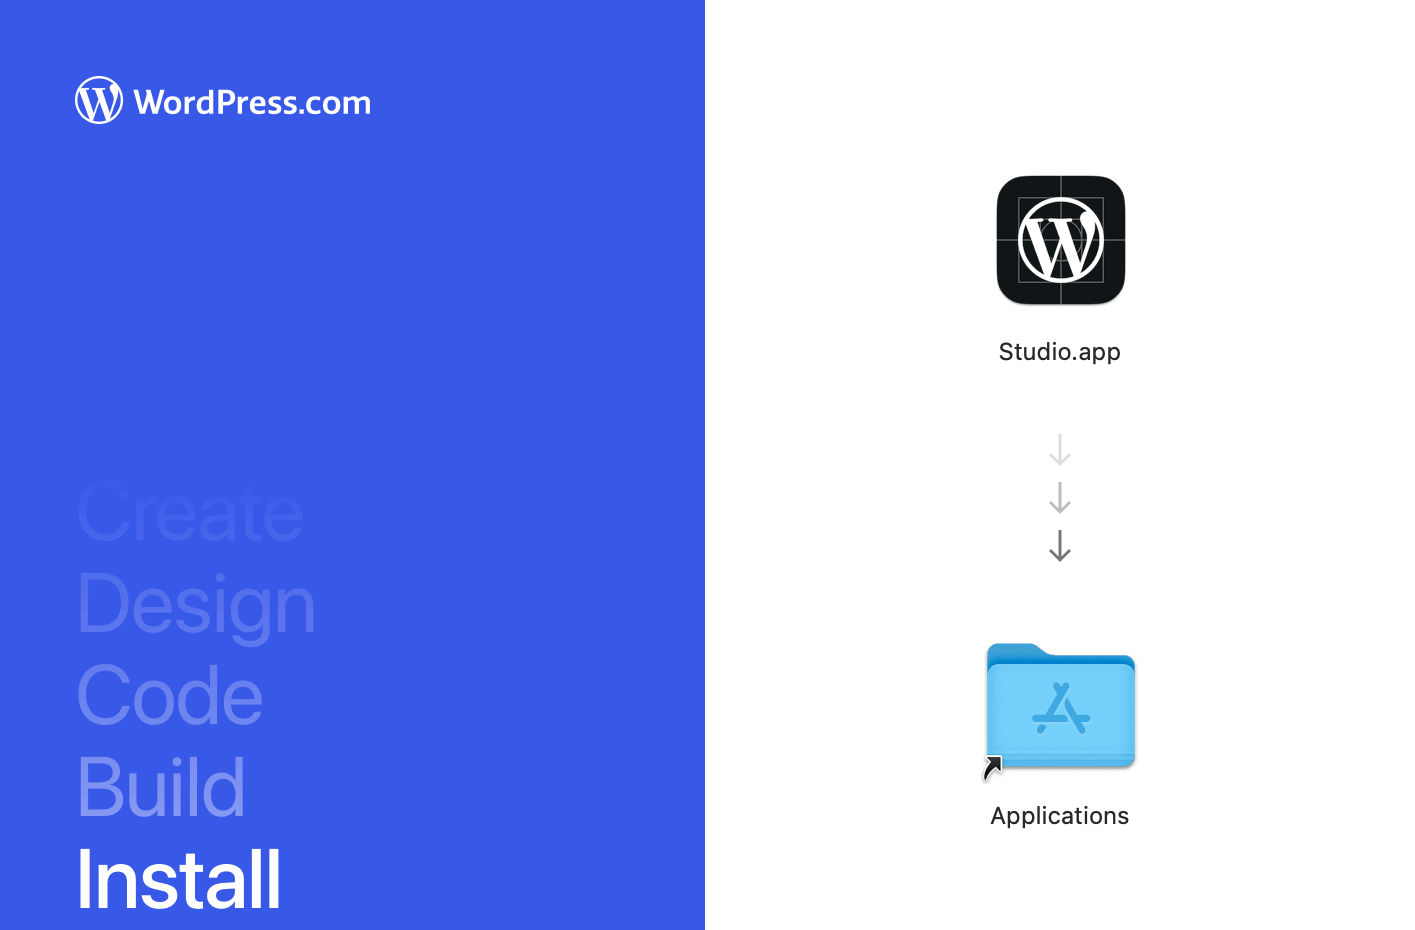
No sign-in is required to get started. The app opens directly to the site creation screen.
Add Your First Site
Click Add Site and type in a name for your new local WordPress site. That is all you need to do.
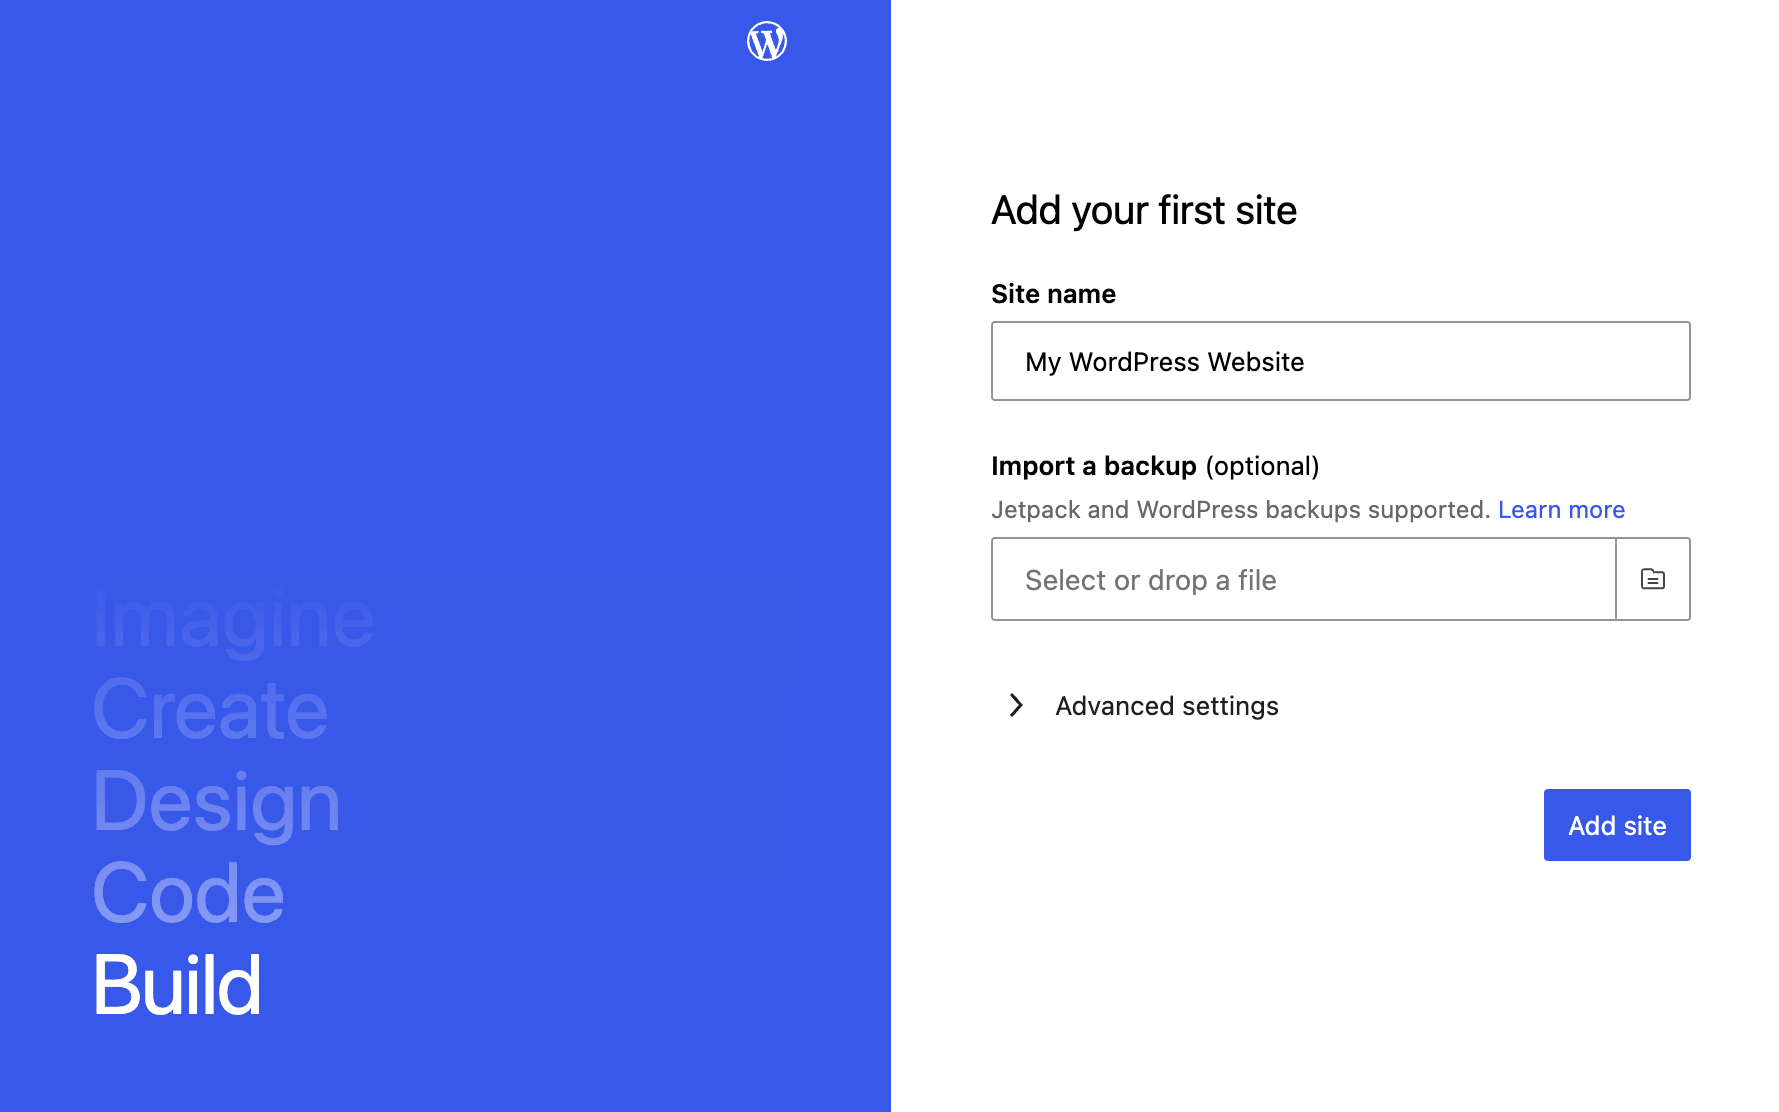
WordPress Studio creates the site immediately. There are no environment settings to choose, no PHP version to worry about. WordPress will do everything by itself.
Access Your Local WordPress Site
Once the site is created, you will see it listed in the Studio sidebar. Click on it and you will see two buttons:
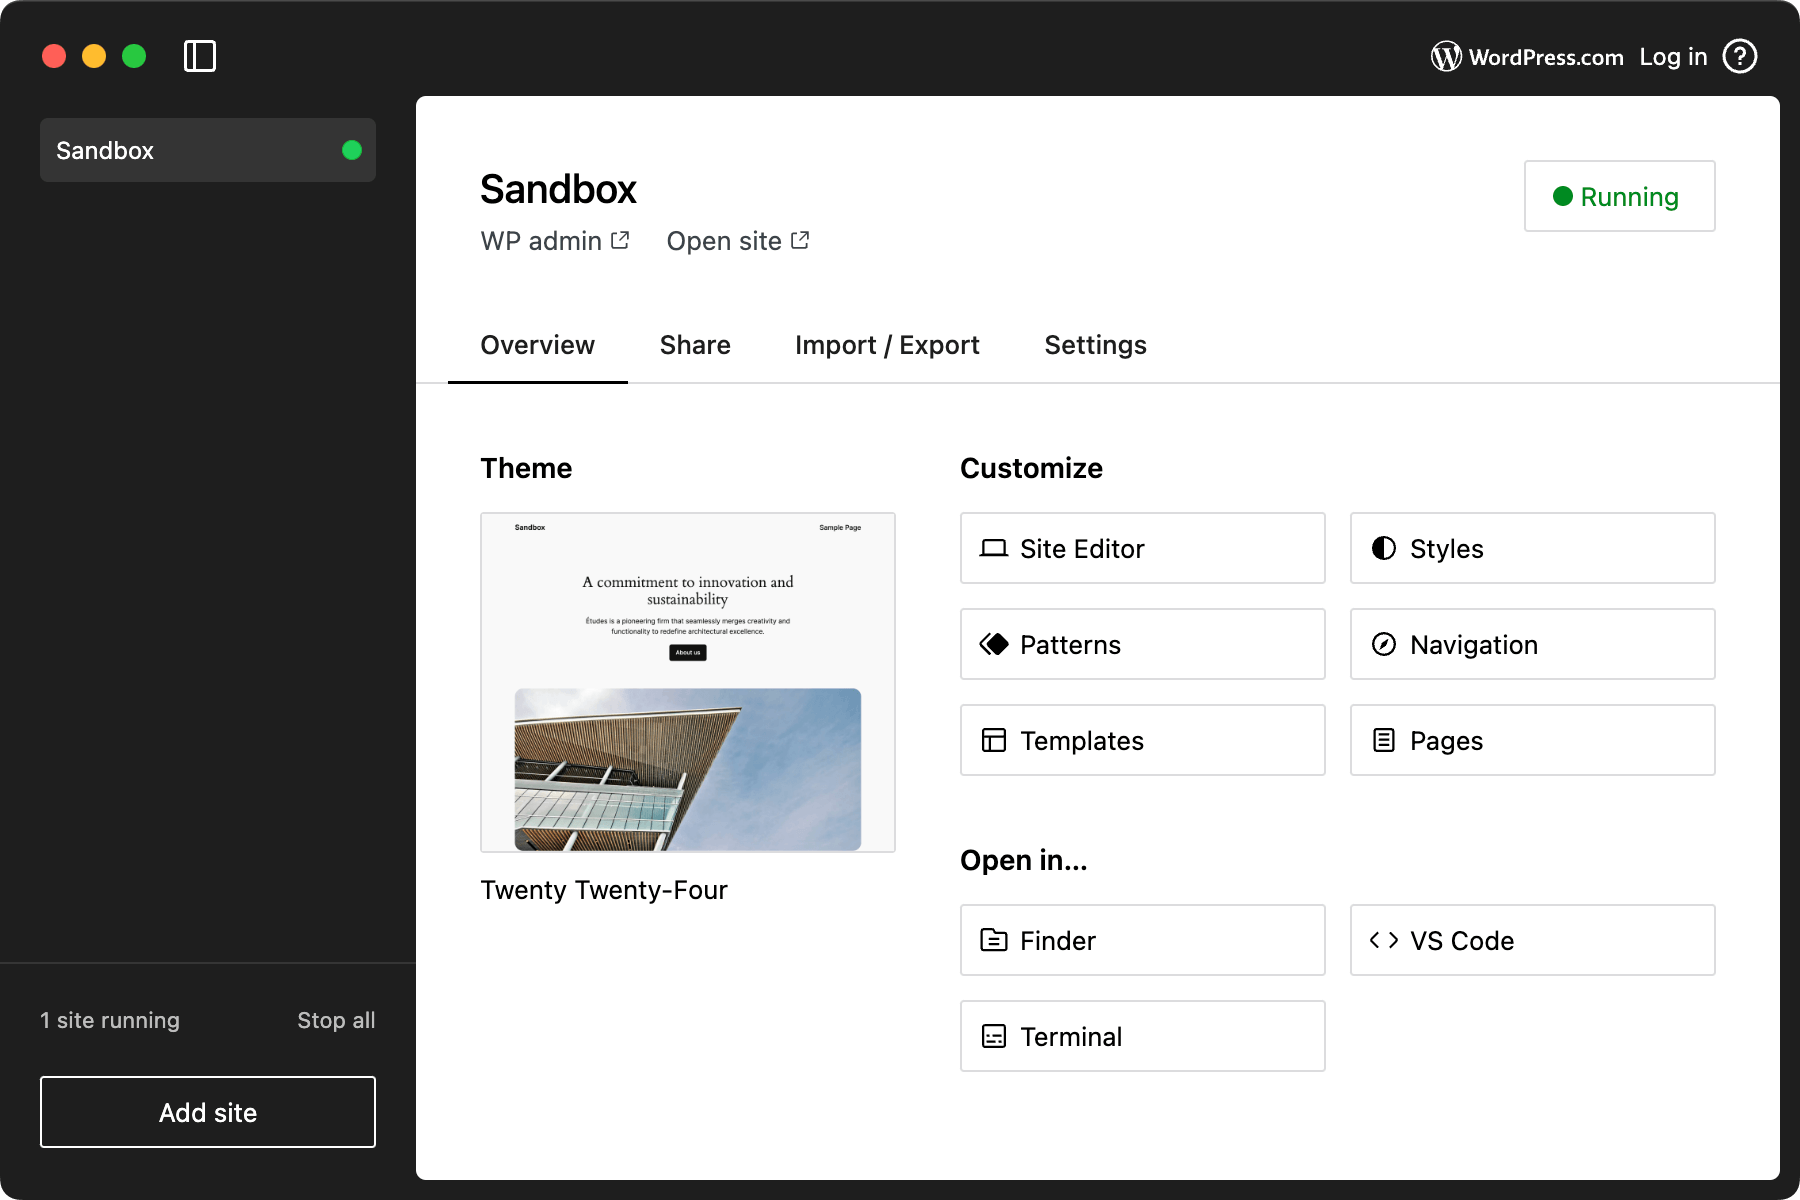
- Open in browser – Loads the front end of your site.
- WP Admin – Opens the WordPress admin dashboard in your browser.
To log in to WP Admin, go to the Settings tab inside Studio. Your admin username, password, and login URL are listed there clearly.
You can create as many local sites as you want. Just click Add Site again for each one.
Connecting Studio to WordPress.com
If you have a (WordPress .com) account, you can connect it to Studio from the top-right corner of the app. This lets you sync existing WordPress.com sites to your local environment for editing, which is a nice touch if you manage sites there.
Which Tool Should You Use?
Both tools do the same core thing well. Picking one depends on what you need.
Use LocalWP if:
- You want more control over your server environment (PHP version, web server type)
- You test email functionality and need the built-in mail catcher
- You are working with WP Engine or Flywheel hosting and want easy deployment
- You work on multiple client sites regularly
Use WordPress Studio if:
- You want the simplest, fastest local WordPress setup possible
- You are a beginner who does not need advanced developer features
- You prefer a clean, distraction-free interface
- You are just learning WordPress
Practical Tips for Working With a Local WordPress Site
A few things worth keeping in mind once your local site is running:
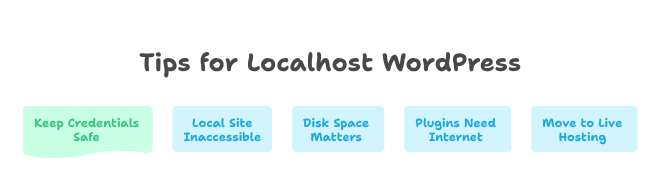
1. Keep your credentials in a safe place. Both tools let you set custom usernames and passwords. It is easy to forget them since this is just a local dev site. Use a simple, memorable password for local use.
2. Your local site is not accessible to the public. Unless you use LocalWP’s Live Links feature, nobody else can visit your site. It only exists on your machine.
3. Disk space matters. A fresh WordPress install with LocalWP takes roughly 1.2GB of disk space including the app itself. If you create multiple sites, that number adds up. Keep an eye on available storage.
4. Plugins downloaded locally need an internet connection. You can install and activate plugins from within your local WordPress dashboard, but the app will need internet access to pull them from the WordPress repository.
5. Moving your local site to live hosting is possible. When you are ready to go live, you can migrate your local site to a real hosting server.
From Local Site to Live Website: What Comes Next
Building your site locally is the smart way to start. But at some point, the goal is to take everything you have built and put it on a real server where people can actually visit it. That transition to install WordPress on localhost to live hosting is simpler than most beginners expect.
Get a Domain and Hosting
Before you can move your site live, you need two things: a domain name (your website address) and a hosting plan (the server where your site files will live).
Export Your Local Site
The migration process starts with packaging everything from your local WordPress installation, your files, your database, your media, and your settings into something you can transfer. The easiest way to do this is with a migration plugin.
Upload and Restore on Your Live Server
Once you have your site package, you upload it to your hosting server, usually through cPanel or an FTP client like FileZilla. Then you run the installer from your migration plugin to restore everything, including the database, on the live server. After that, you update your site URL settings inside WordPress to match your real domain, and your site is live.
Test Everything Before Announcing
Before you share your site with anyone, click through every page, test your contact forms, check that images load correctly, and make sure your plugins are all working as expected. Things can occasionally behave differently on a live server compared to your local environment, especially if PHP versions differ.
Before You Go Live, Think About Security
Once your site is on a real server, it is exposed to the open internet. That is a very different situation from working locally on your own computer. A local site has no outside visitors. A live site does, and unfortunately, not all of them are human.
Bots constantly scan WordPress sites looking for weak points: unprotected login pages, outdated plugins, exposed system information, and missing firewalls. Small sites get targeted just as often as large ones because the scanning is automated and indiscriminate. The best time to sort out WordPress security is right before or right after you go live, not after something goes wrong.
What a Live WordPress Site Needs
At a minimum, your live WordPress site should have these basics covered:
- Brute force protection on the login page
- A firewall to block malicious traffic before it reaches WordPress
- Malware scanning and file integrity checks
- Two-factor authentication for admin accounts
- System information hidden from public view (WordPress version, readme files, login URL)
- An activity log so you can see what is happening on your site
A Plugin Worth Setting Up at Launch
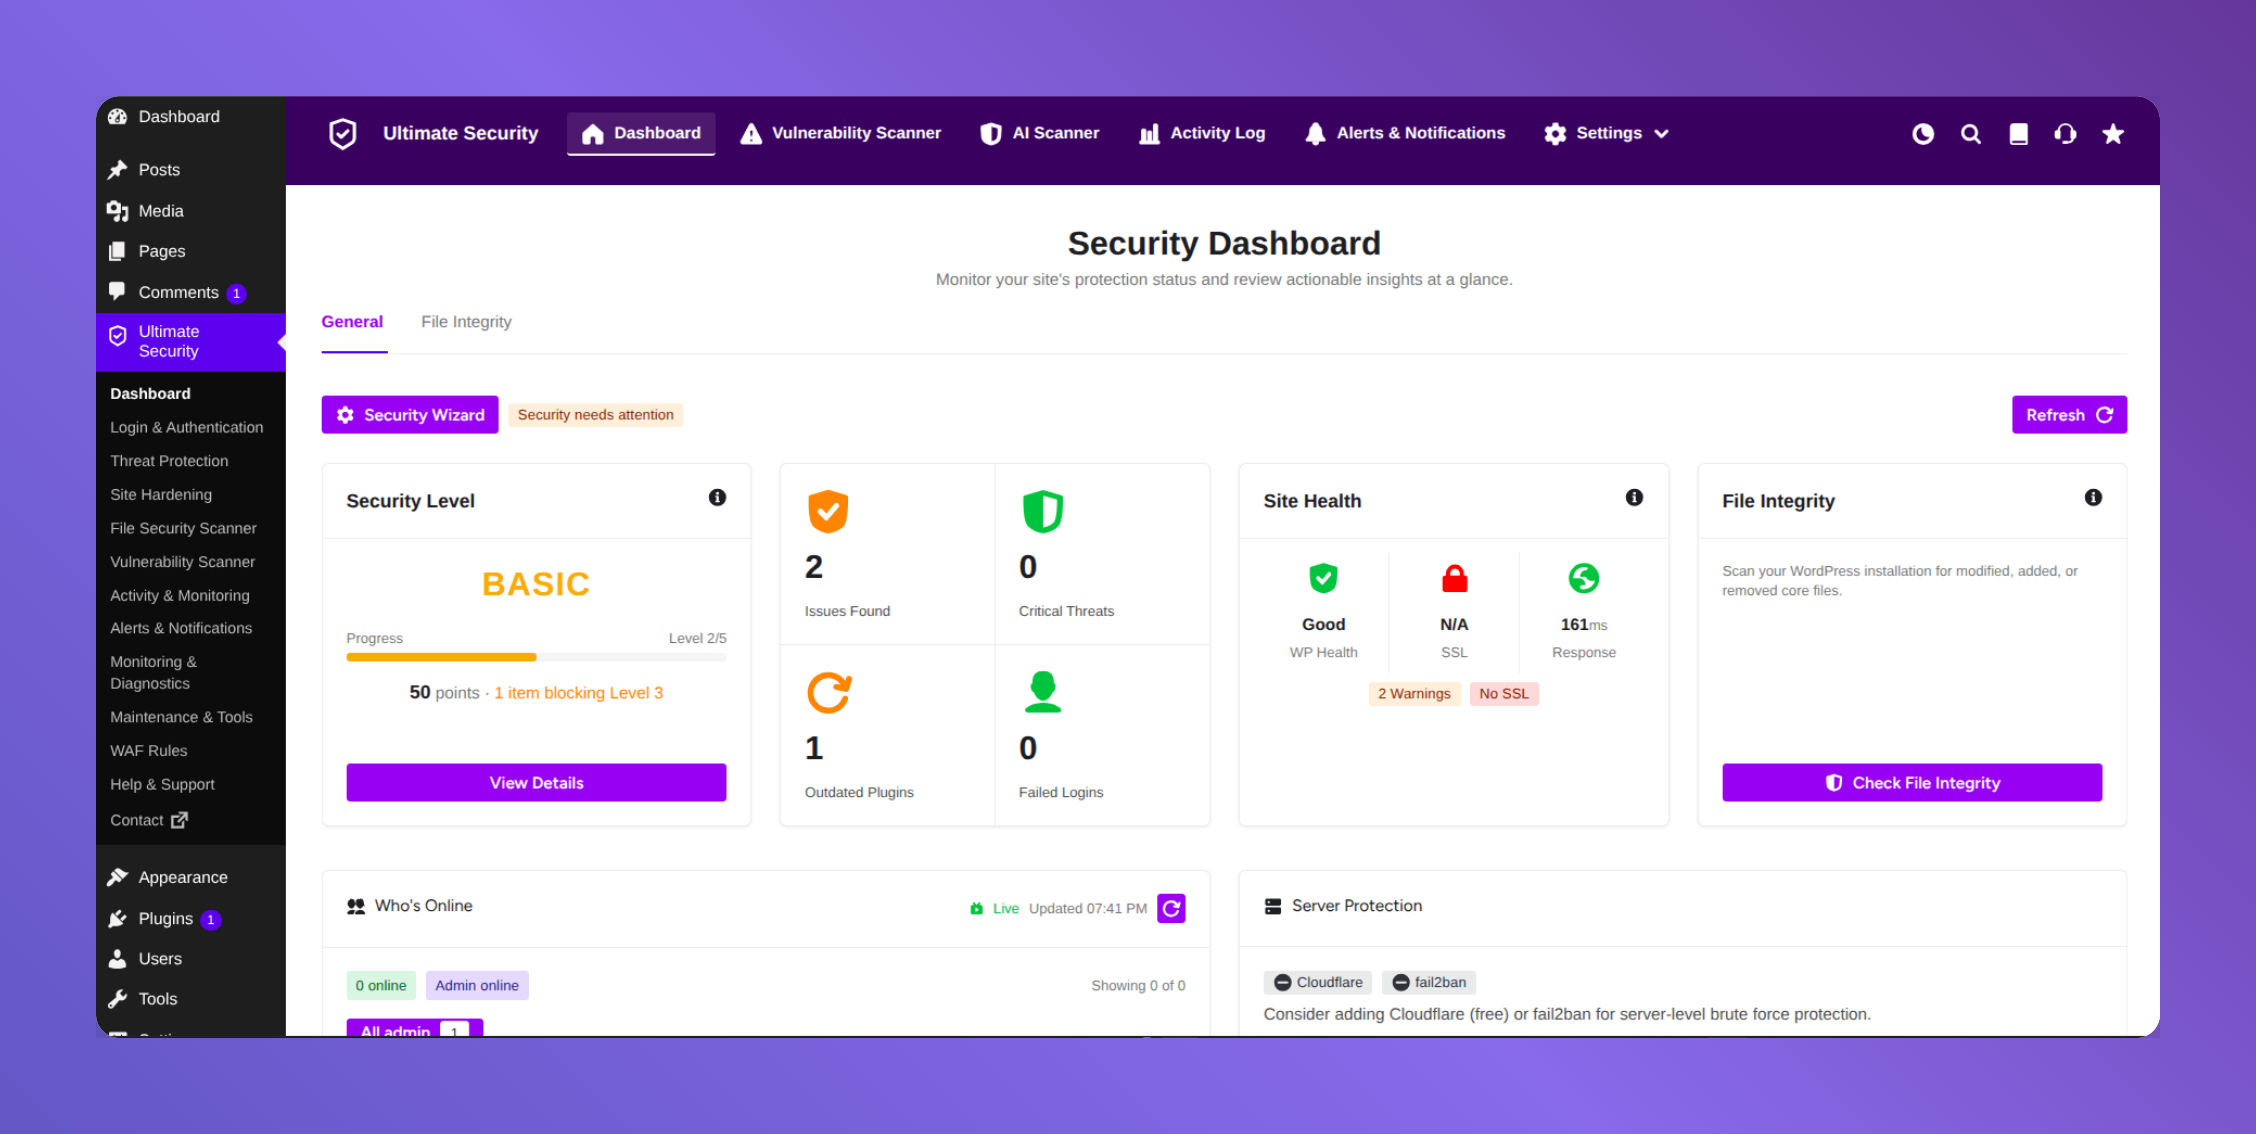
Rather than installing and configuring multiple plugins to cover each of those areas separately, the Ultimate Security plugin handles all of it in one security dashboard. It is built for WordPress site owners who want solid, practical protection without needing to touch server settings or hire a developer.
It covers the areas where most WordPress sites are weakest: login security, bot protection, firewall rules, malware detection, and general site hardening. Setting it up right after launch means your site is protected from day one, which is exactly when it matters most.
Frequently Asked Question
Can I run WordPress locally without an internet connection?
Yes. Once the software and WordPress files are installed, your local site works offline. You only need the internet to download the tool initially and to update WordPress core or plugins later.
Can I move my localhost site to live hosting?
Absolutely. Both LocalWP and Studio allow you to export your site files and database. You can then import those files into a live web host to make your site public.
Do I need to know coding to use LocalWP or WordPress Studio?
No. Both tools are designed to be beginner-friendly. You install them like any regular app on your computer, and they handle the technical side automatically. You do not need to know PHP, MySQL, or server configuration.
Will plugins and themes work the same on a local site as on a live site?
In most cases, yes. There are a few plugins that rely on external services (payment gateways and email services) that behave differently locally, but core functionality works the same way.
Does LocalWP work on Mac?
Yes. LocalWP is available for Windows, Mac, and Linux. WordPress Studio is also available for both Windows and Mac.
Final Words
LocalWP and WordPress Studio have genuinely removed the hard parts to install WordPress on localhost. You download any of the software, click through a few steps, and you have a real WordPress site running on your own computer in minutes. Free, private, and completely yours to experiment with.
Use that local environment to learn the platform, test plugins, try out themes, and build confidence. When your site is ready, the move to live hosting is a straightforward process. And when you do go live, take a few minutes to get security in place before you start sending traffic to it. That one step saves a lot of headaches later.